Prepare, validate and schedule a communications campaign
Configure the campaign's channel and audience, review the preview and prepare the execution plan.
Before you begin
- The correct company, communications workspace and sender identity.
- A connection, template and recipients eligible for the campaign purpose.
- Who it is for
- Communications operator with the relevant setup or approval permissions.
- Where to find it
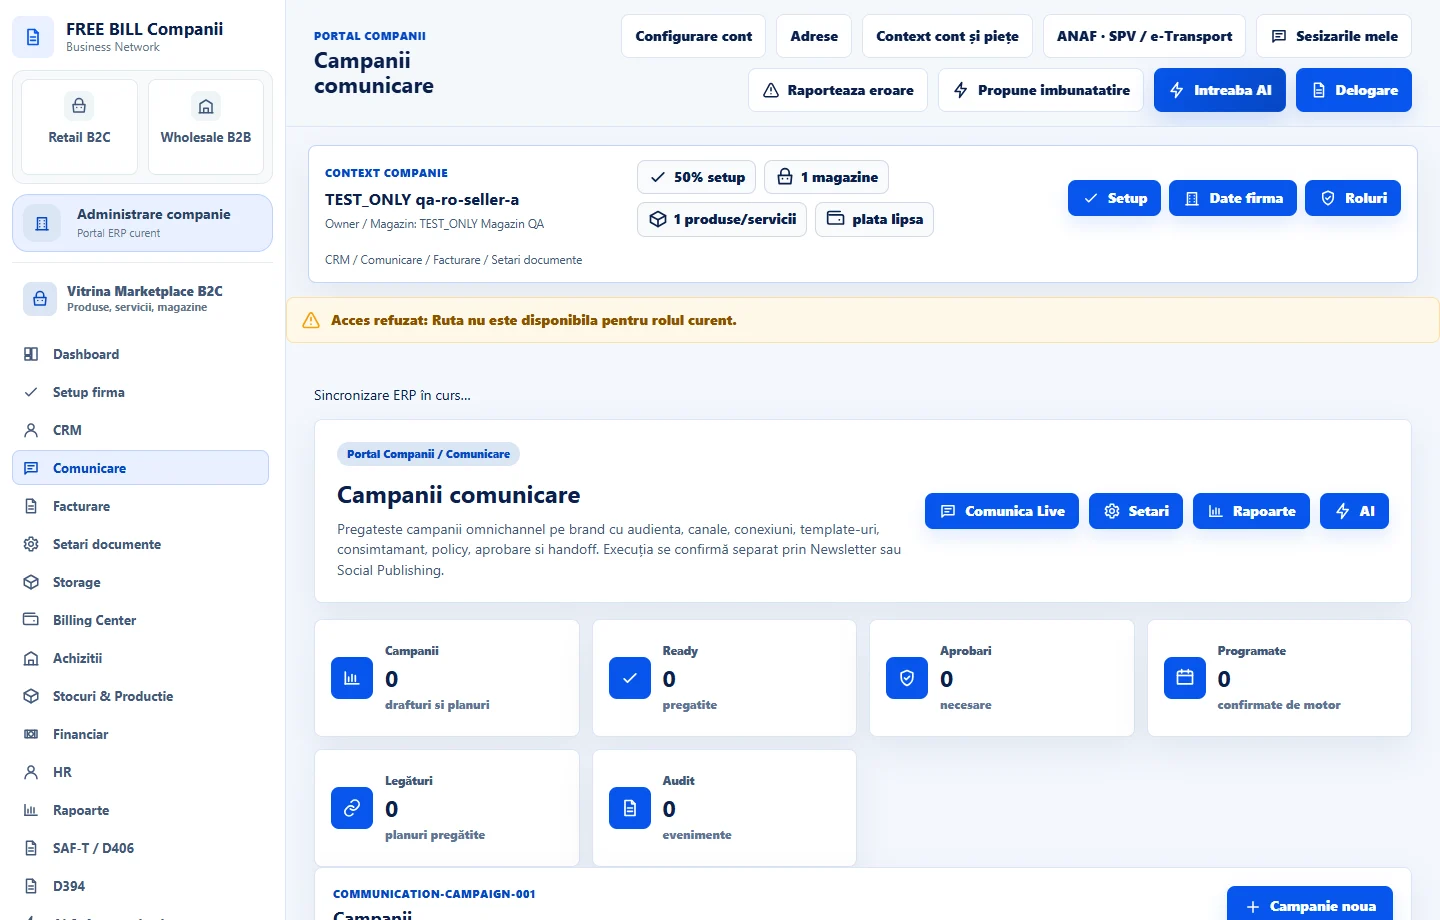
- Campanii comunicare
Step by step
Check the sender and channel
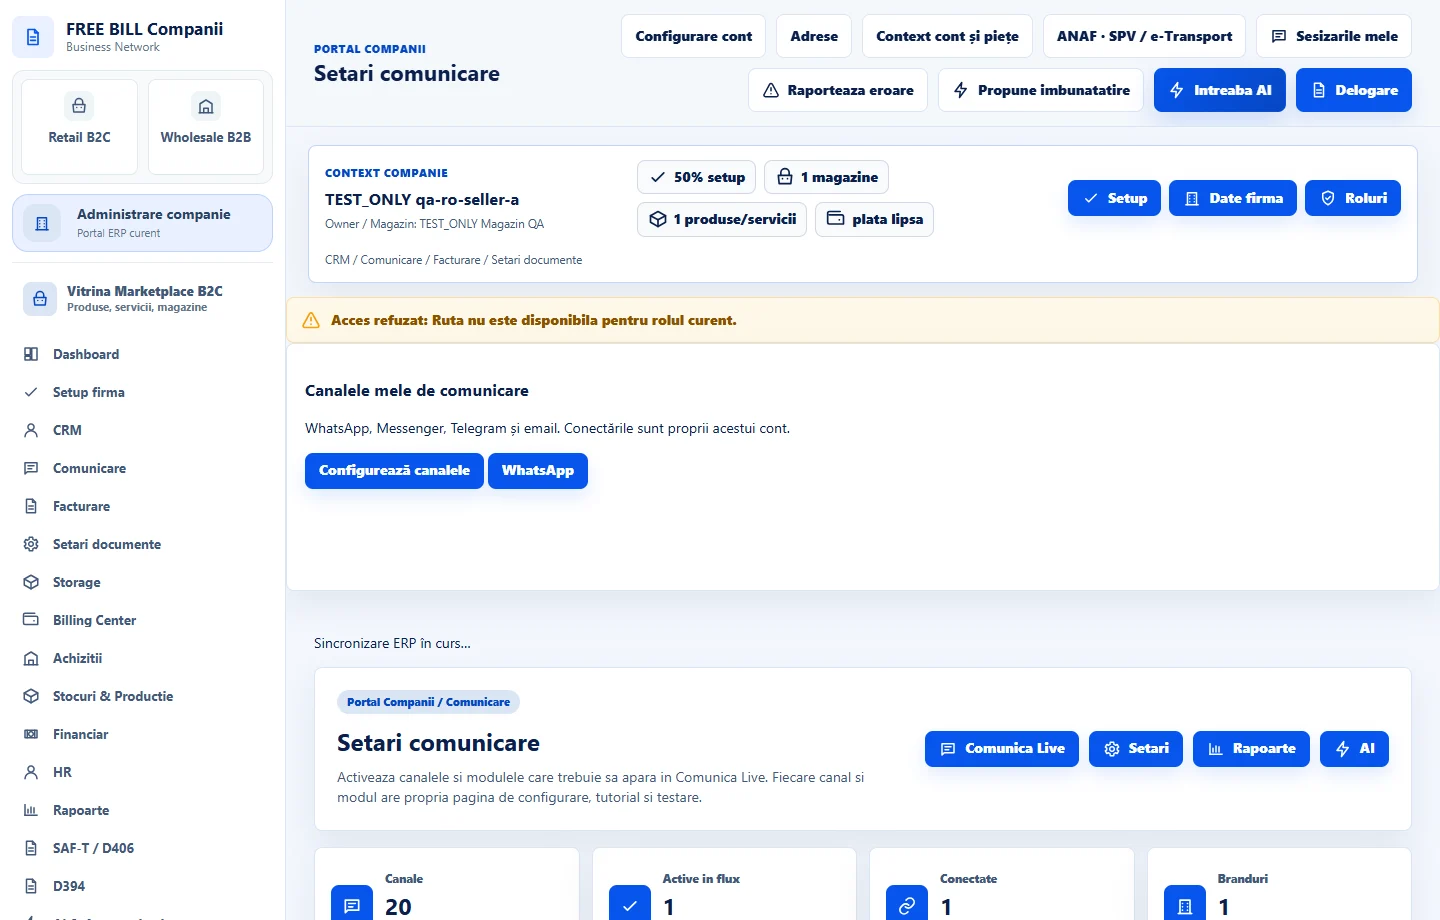
In «Setări comunicare», check the identity and connection you want to use. In «Campanii comunicare», select the appropriate company and workspace.
Create the campaign
Select «Campanie nouă» and enter the required name, purpose, channel, connection and template. Choose the audience and review the displayed rules for recipient eligibility.
Preview and validate
Use «Preview» to review the content and audience, then select «Validează» to identify gaps. Correct the details and validate again if you change the channel, template or recipient selection.
Approve and prepare the plan
After review, select «Aprobă» with an authorised role. If you have a date planned, check «Programează». When the interface offers «Handoff», review the plan that the execution area will receive.
Review the campaign history
Reopen the campaign and check its status and «Audit campanie». Before sending, verify the plan in «Execuție bulk controlată».
Application interface · Romanian · 2
Check the result
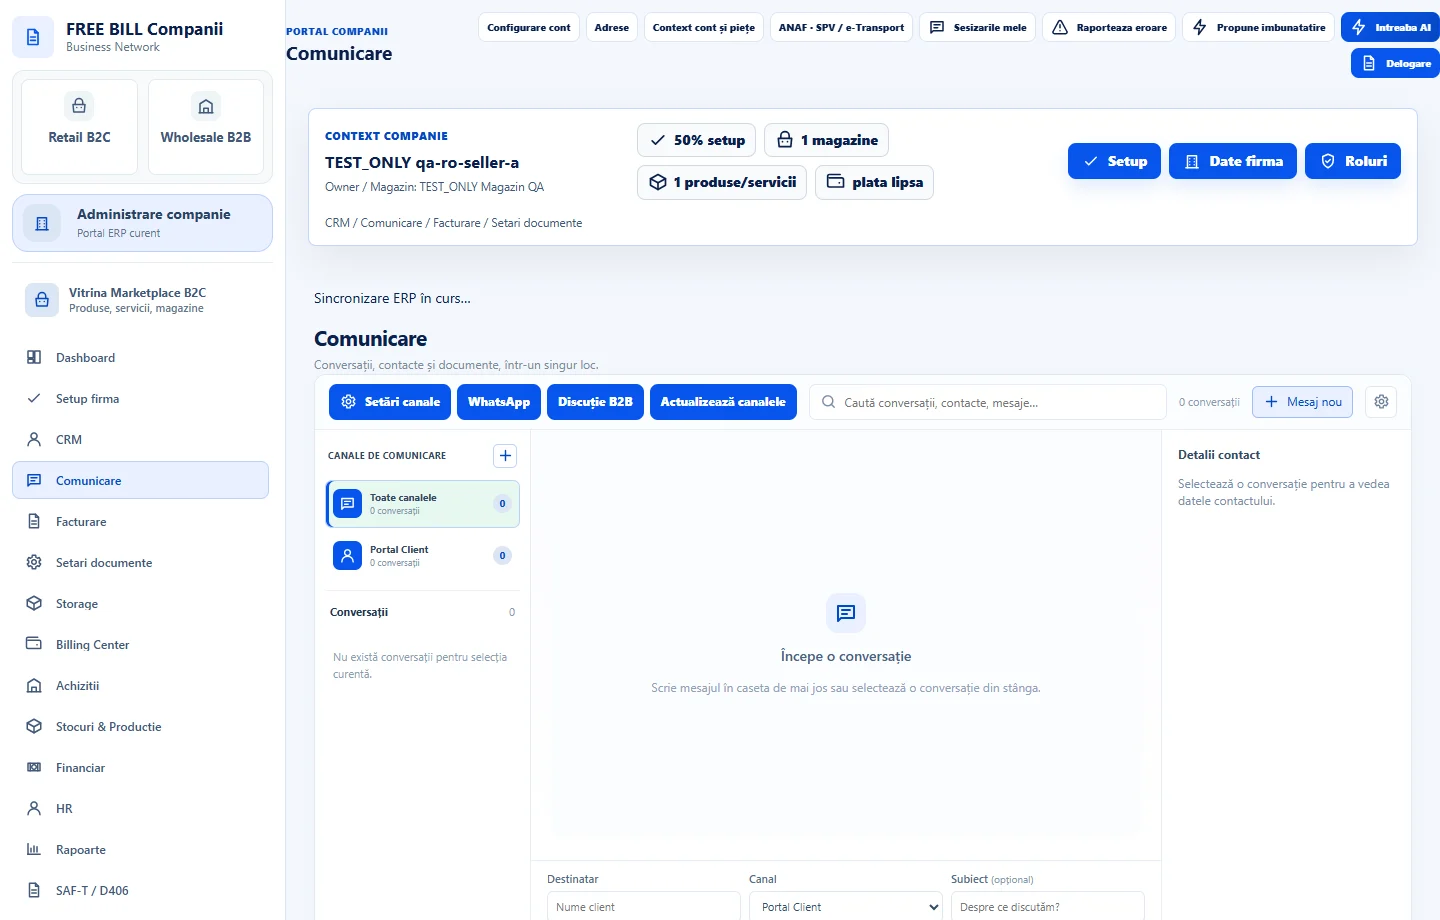
The campaign has a plan, status and history. You can review its audience and content before execution.
If something is missing
If validation rejects the campaign, check the connection, template fields and eligible recipients. If approval is missing, check the operator's approval permission.
Availability depends on your role, enabled modules, country and company configuration.
Open in FreeBill Conect